The Formal Elements
Line: |
The line in the pictures is an identifiable path that has been created by a point moving in space. Which is a one-dimensional and change in width, direction and length. There are different types of lines such as horizontal, vertical, or diagonal, straight or curved, thick or thin line. The lines are the types of things which will lead your eye around the picture or composition which can communicate information through characters and directions.
|
Shape: |
A shape in a picture will only have a height and its width. Shapes are usually, but not always, they are defined by lines, so that it can provide its contour. Shape is the most fundamental element, because it is the principal element of identification. The most improtant thing to keep in mind is when a shape is the essential element in the image and it is defined when the subject is frontlit or backlit.
|
Form: |
Form is a three-dimensional shape, which is the best attention by side lighting as it casts soft elegant shadows, and the change between light and shadows, which gives a better illustration of the depth and to the image.
|
Pattern: |
Our lives is full of different types of patterns. While working with patterns, two techniques will come into practice and they are; you either can emphasise the patterns or you can break it.
|
Color: |
Colors is characterized by different characteristics such as value, hue and saturation. With colour the audience will look at how they are arranged, also with colors they can also send out different types of messages, with have an importamt visual weight and impact to a photo.
|
Developing Ideas
By doing this you can gain different ideas and a great way to gain interest.

We looked at several different images, and annotated them. I have chosen this image put, this is because you can see several different types of formal elements within the picture.
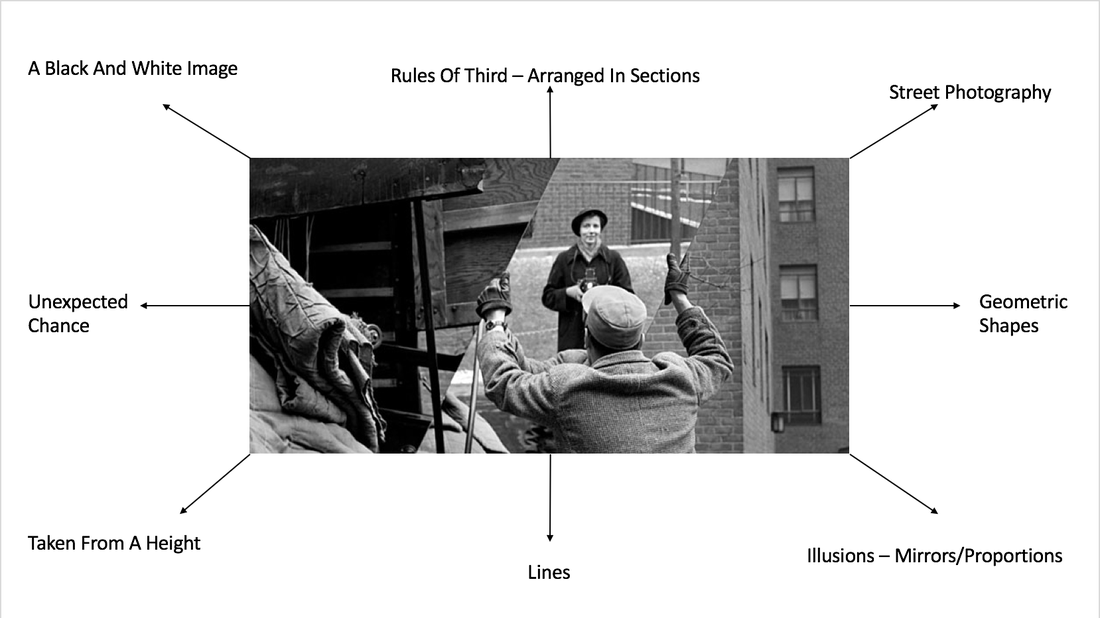
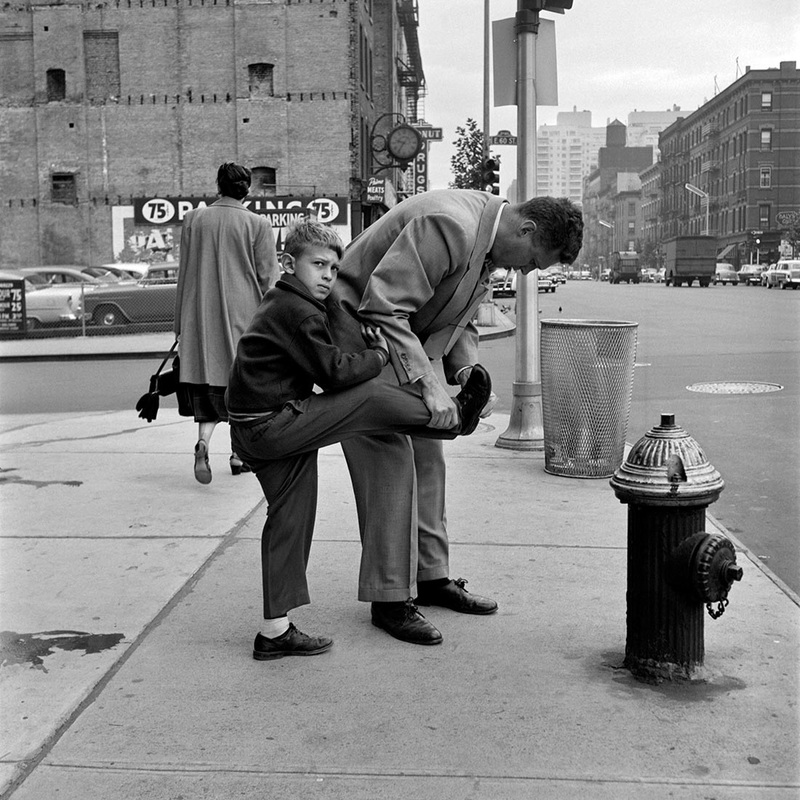
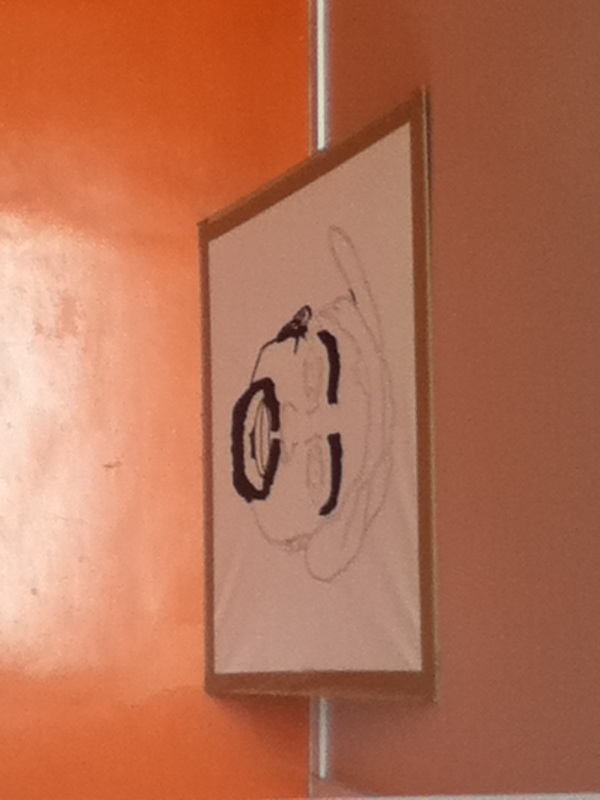
Vivian Maier

|
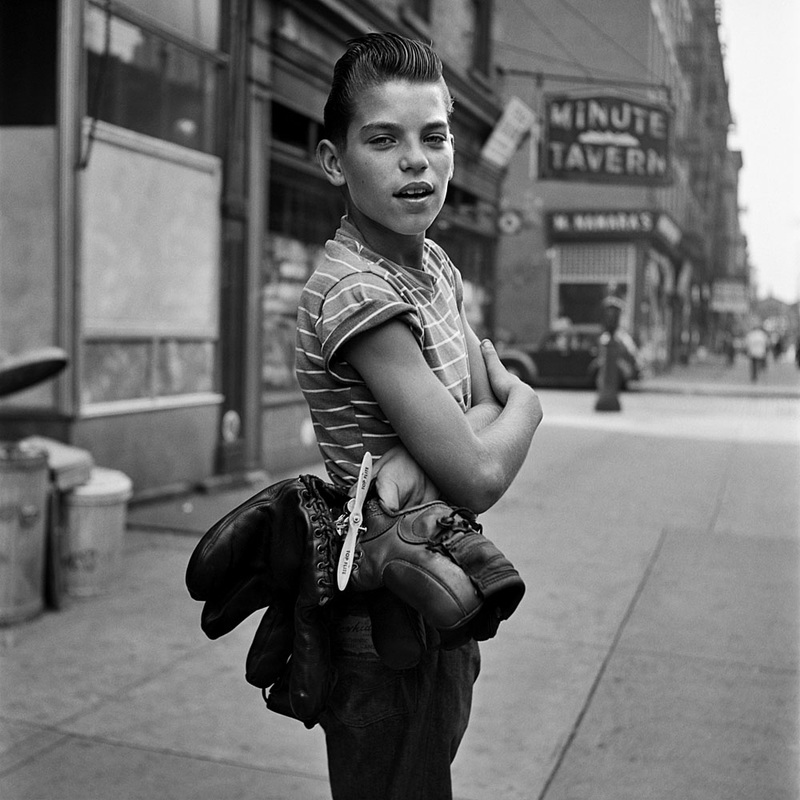
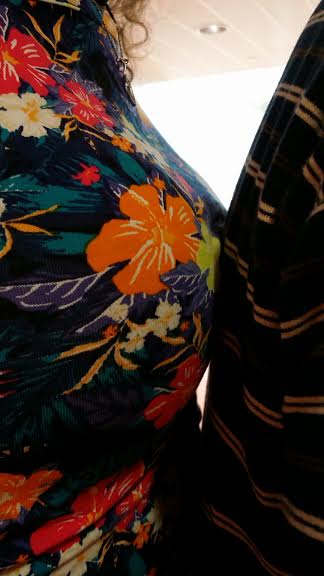
The light quality describes where the light source and the direction comes from within the image that the artist has taken. For this image the light source they have used in the image is the sun light where it has been taken outside. Straight away when you look at the image you will recognise where the light is coming from, and you will know this by looking at the shadow or if it doesn't have one you can always look at the face where the sun reflection will leave shadows on the face telling us which way the sunlight is coming from and in this image the sunlight is coming from the right hand side corner. But the light coming from the sun it is harsh, when I mean that I mean the sunlight isn't that bright so it didn't effect the facial expressions, we can probably say that half of the sunlight was most probably behind the clouds so that you would get a smooth looking sunlight on the face and and light shadow from behind. Within the image the objects that show texture are the gloves and mostly the hair which really isn't an object. So moving on to the gloves they show more texture than any other objects in this image this is because the background in out of focus so when you really look at the image the gloves stand out more this is also because can see the shine coming from it and you can also feel smooth the leather is and the stitches. Also looking at the hair you can see the texture in it; the light of the sun and the lines that the comb as gave to the hair. While looking at the image you would recognise it after looking for a while because just looking at the image detail you can really see whats in the image and what isn't.
|
The thing that is in sharp focus is the body, and everything else is all out of focus and this maybe because the photographer wanted to make him the main focus in the image or maybe the background wasn't really necessary, he may think this because the things in the background wasn't linked to him in any way. The angle that this image has been taken from is the boys right hand side, and the image has been taken from eye level and we know this because the boy is looking straight at the camera which gives us a clue on which angle the image has been taken. The photographer has decided to change the colour of the image into black and white and this may be because the photographer wanted the audience or the viewer to sense a mood , a place or even a time.
Francesca Woodman
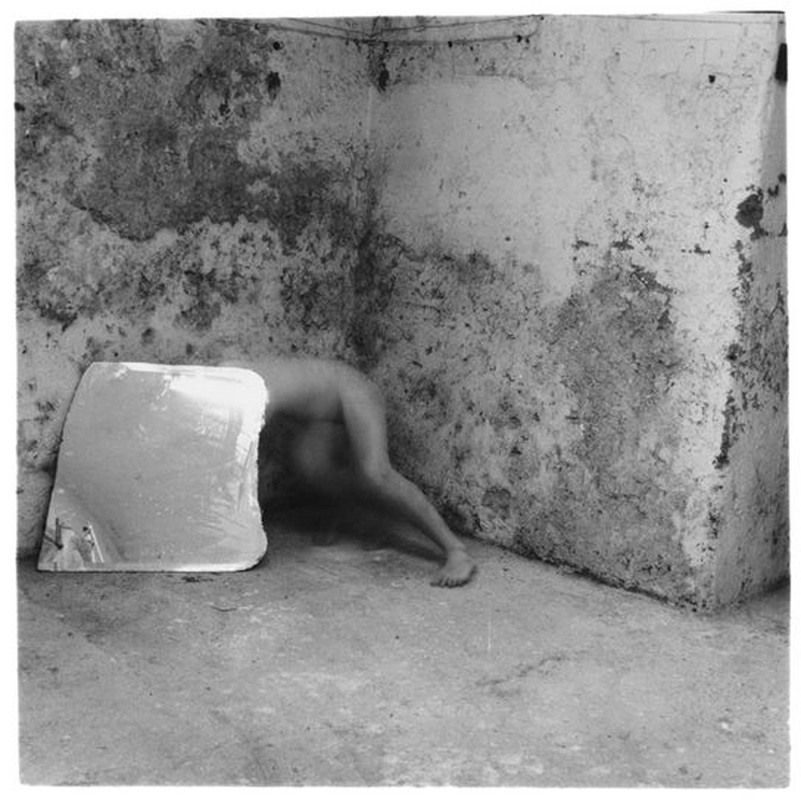
The light quality of this image describes the different source of light, for example they could of used the sun, lamp or flash. Which she has probably used the natural objects such as she could of used the sun light that was in its right position at the time of the photo shoot. I don't think she could of used the flash because you wouldn't of seen the reflection of the window from the glass box. I also knew the light was coming from the window this is because you could see the reflection from the glass box. The direction of the light is also important because depending on which direction its coming from; it can come from above, behind, or from any of the sides. With this image the light is coming from other directions as you can see the reflections from the glass so it looks like its coming straight ahead and from the right hand side. The lights diffused with a soft light with no shadows. In this image there are many different types of textures that the artist has used, and they are that the walls have the patterns as squares that look sharp and rough. As with the glass box the texture looks like it has many different textures (thats what I think) to it this is because the box towards the bottom of it, it looks really rough, I think this because it looks messy and looks like it has been scratched. Moving on to the naked bodies in the box, their bodies look really soft and smooth because you don't seem to see any texture to it and any unnecessary things. The texture of the objects I don't think you notice it straight away because with me I had to look in detail, as so the light and the naked bodies were the first things I had noticed, this is because the objects and the light were the main thing so I mean it was in the centre of the photograph so it would catch the views attention straight away. In this photograph the bodies are out of focus and the objects are in focus this could be because it will have an effect by allowing the view to see the bodies before anything else. The soft focus has been used on the bodies because it would arch more of the attention and also it would show a mood as well. The mood could be that the model in the box she is crouched, it could be that she is locked up that she couldn't move or do anything, and that she was feeling angry. But with the lady thats hanging from the top she looks more free to the world because she's out of the box and she's laying down maybe feeling all relaxed.
|
The angle of this image has been taken from the side of the room I know this because the box looks like it has been placed in the centre of the room. The photographer could of taken the picture from the top of the room, from eye view or from below. We would think this because of the object in the middle and the door next to it, it confuses us but if you look at the picture in detail you would realise that the picture has been taken from midpoint, I know this because the object gives you a clue because the object has been taken from an angle because you can see the other sides of the box. The angle of the image makes me feel about the subject of the image is that you can see whats going on in the image and what the photographer tried to tell us and make us feel. The photographer probably tried to exclude every single little things in the room so that the object in the room could be the main thing and the photographer done this by taking the picture and making the box the attention so when you take a look at the image you would see the object straight away. I think the photographer didn't use colour to this picture because it wouldn't give a mood and make it look more dull. If the artist were to add colour to this image you would get a totally different sense of feeling and mood to it, for example you would look at it differently but the positive thing about adding colour to the picture would of been that you would of realised what angle they took the image from and you would of guessed the time it was taken by looking at the setting.
|

|
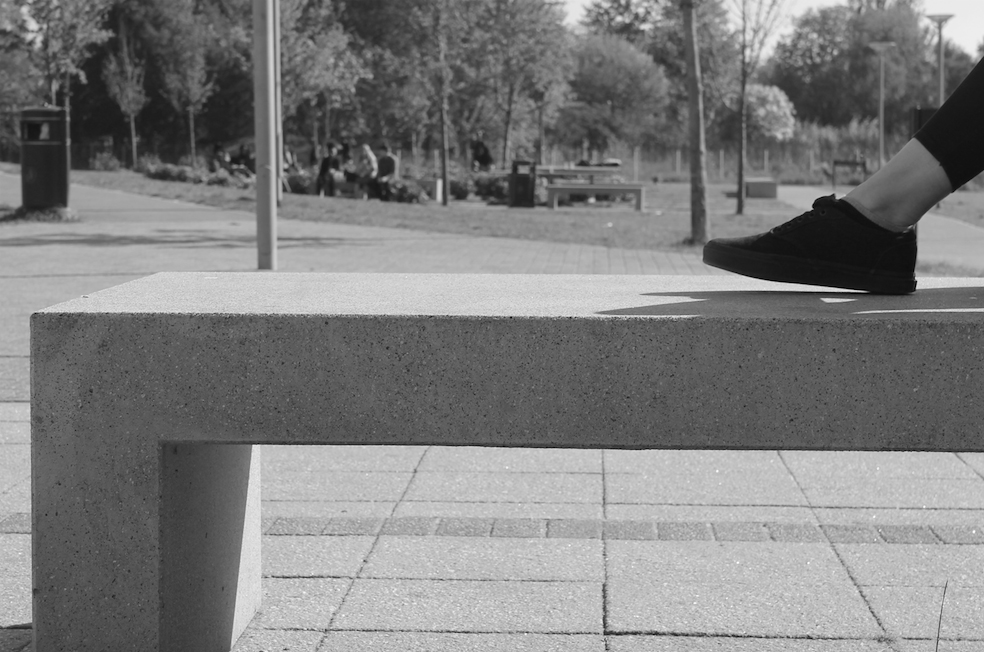
Response #1
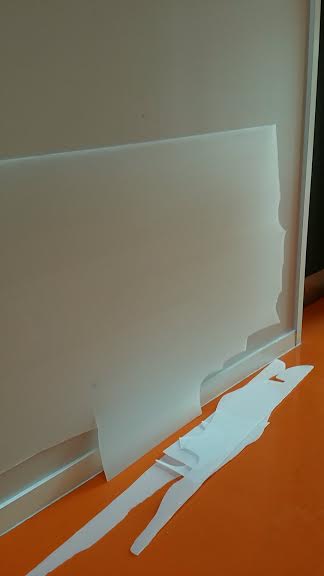
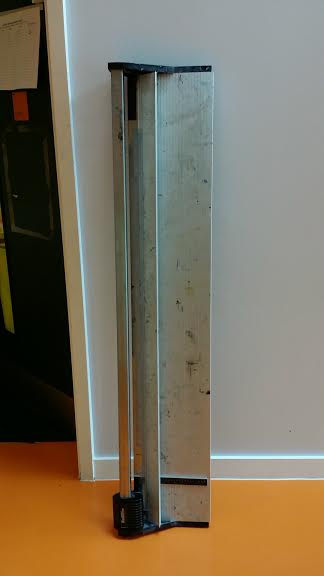
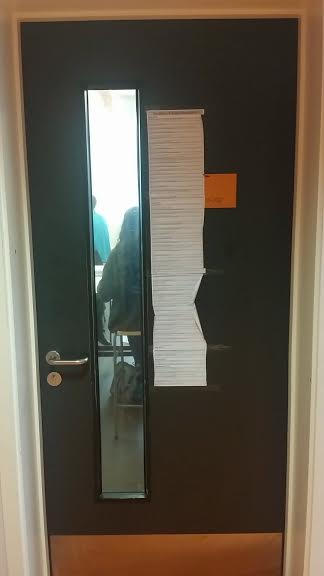
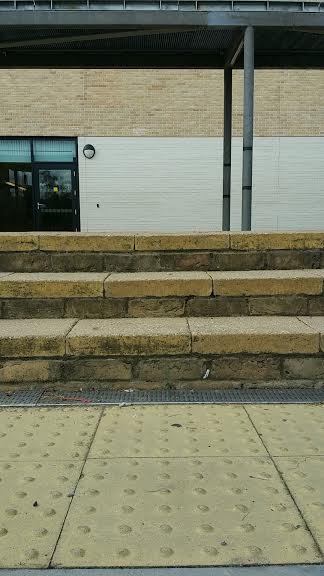
With these set of images what I focused on was texture and light. We as a whole class went out to take a set of picture with our digital devices, and because we was in the art block it wasn't that hard to take pictures of the topic you have chosen. As so while I was walking around I have found broke bits of material, ripped pieces of paper that was still displayed on the door and boxing that was getting ready to get thrown away laying around in the corridor. When you see these objects just either laying on the floor or on the door you just want to take pictures of it because it amuses, and you can do whatever you want to the image, you can either turn it black and white and leave them like that or layer it with the other images you have taken, creating on single image.


Taking A Picture Without A Camera
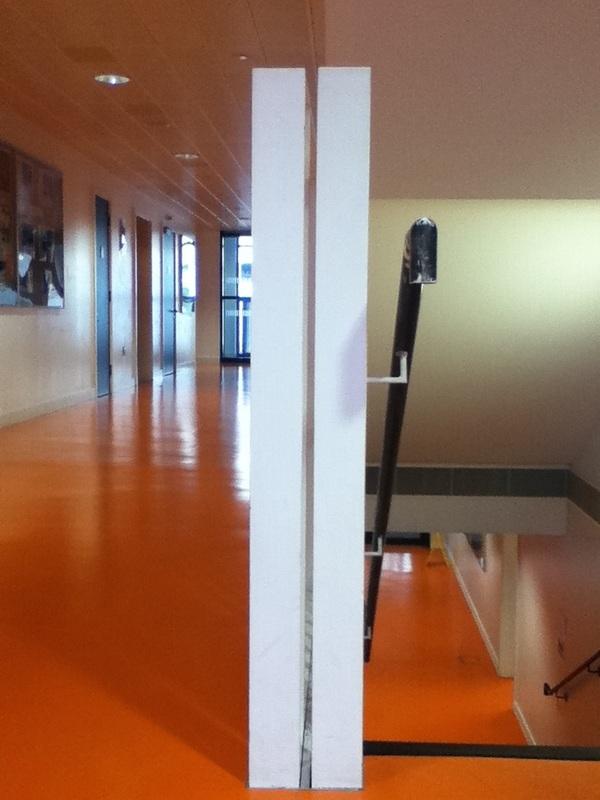
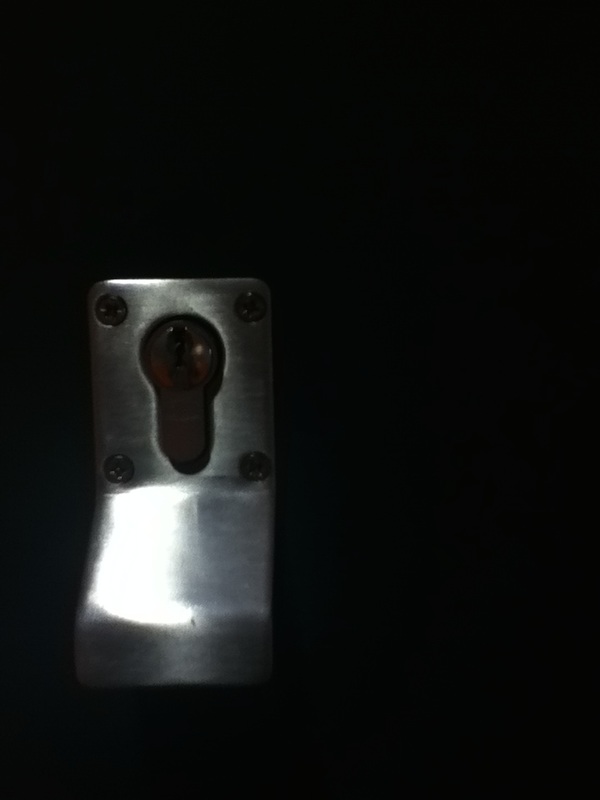
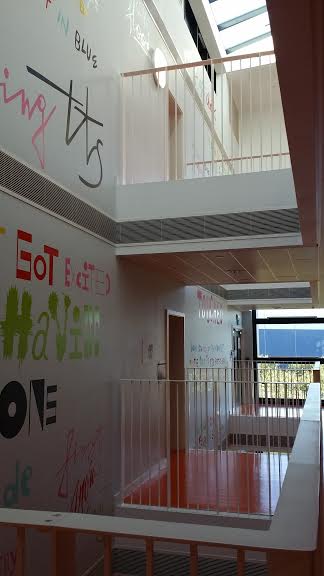
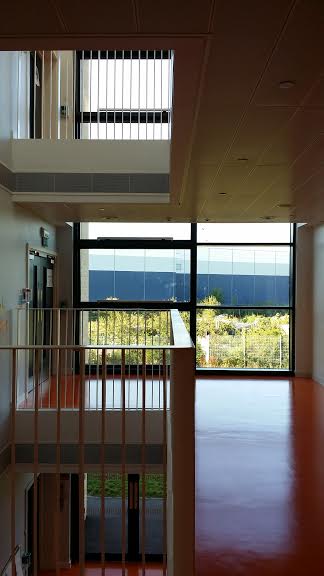
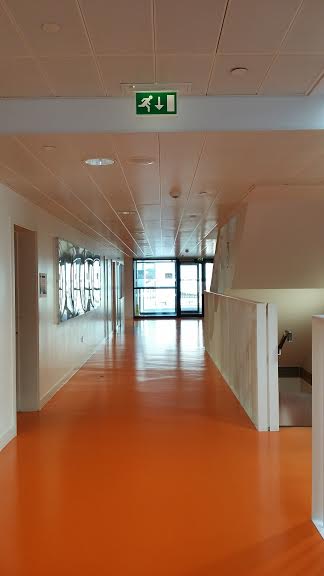
The image that I have in my mind is that the light of the image has been created by the sun light where the light has reflected from the windows or coming from the celling. From my image the light looks like it is coming from different types of directions; there are double doors so the light can reflect from there then there are toilets so there could also be a lamp reflecting to the stairs, but also there could also be light coming from the ceiling. The objects that are in my image that has texture could be a boy that was wearing a rough coat, walking up the staircase and the rest has a smooth texture. Moving on to the framing of the image, what I can see is the straight staircase thats going downwards. I am standing right in the centre of the starting point. Within the frame I have a bit of the white banister, including the black holder.
6 Refined Images
With these images that I have taken, I was just focusing on the two formal elements which were; light and texture. While taken the picture we was meant to focus on the 4 corners of the each image that we have taken, making sure that there would only be one main object and maybe a few items next to them but no more than 4. But these set of images wasn't successful due to that I didn't focus on the object that I was taking because if you looked at these pictures I don't really think you would guess the 2 formal elements. What I could do better next time is I could focus on the object that I am about to take and the 4 corners of the image and either try moving the object around to get a clear background or moving the camera left or right or maybe even closer.
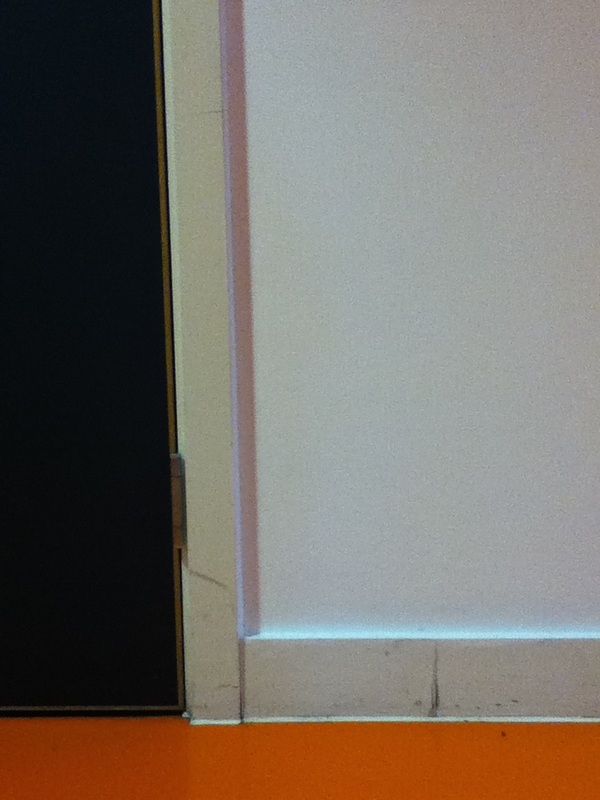
Well, I went outside again to take another set of images so that I could improve the images that I have taken, and what I have done better is by moving my camera around the image to see the different angles and positions that I am getting from each corner, so while viewing the image through the phone you can see the four corners and concentrating on them you can get a clear image with just a few objects in an image.

Evaluation a photograph without a camera
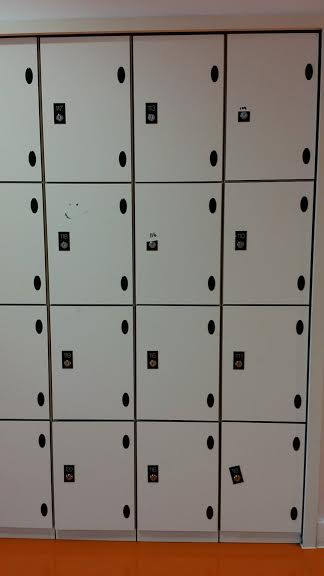
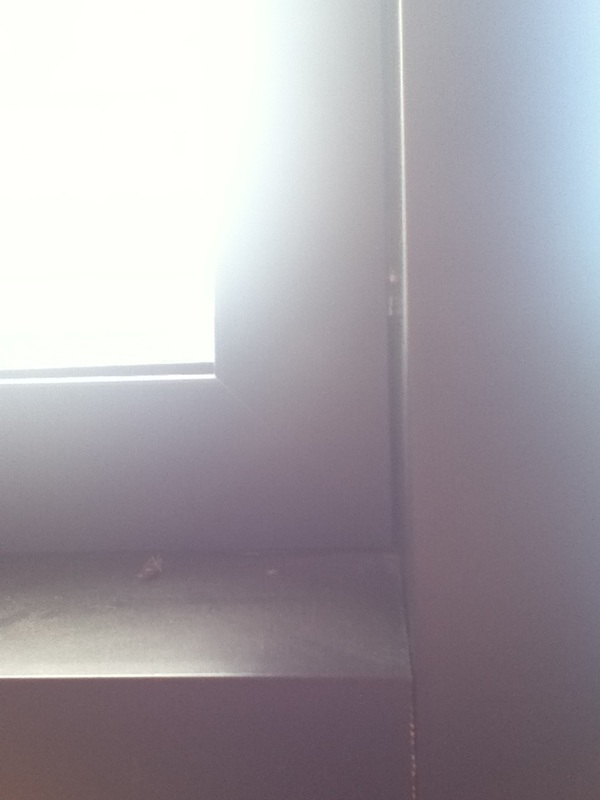
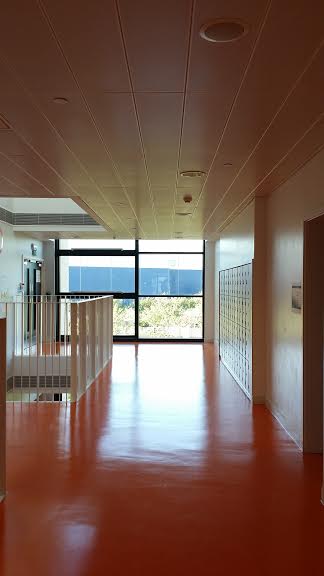
"The light in the image is all natural and comes from the windows straight a head as well as from above coming down from the ceiling. The light is quite harsh and has bleached out the floor directly in front of the window but it fades and gets softer revealing the floors darker orange colour as it gets further from the window. The main texture in this image is probably the smooth shininess of the floor however the walls and lockers have a slightly rougher texture so the light reflects off them slightly differently." - Joseph Sheppard's Description
With the description that my partner Jo has gave me, I was able to find where the picture was taken from his mind. I was able to do this because the way he had explained it was really clear and had every little detail in it, which was telling me that there was light coming from the ceiling and from the windows, and also telling me that there are different type of textures which was about the smoothness of the floor and the rough texture from the lockers. The experience of trying to find the right place that Joseph was explaining about was kinda hard this is because your not sure if it is the right place that he was talking about or it it was in the right angle. The thing that I have learnt by looking at a description and taking the image is that you have to read the description as detailed as you can trying to remember each little thing that the image has included. When I went to take my images I had to be careful while taking the images this is because I have to check whats going on in each four corners of the images that I have taken and I had to included the other objects that he had told me which were, the lockers and the light that comes from the ceiling and the windows and also the floor.


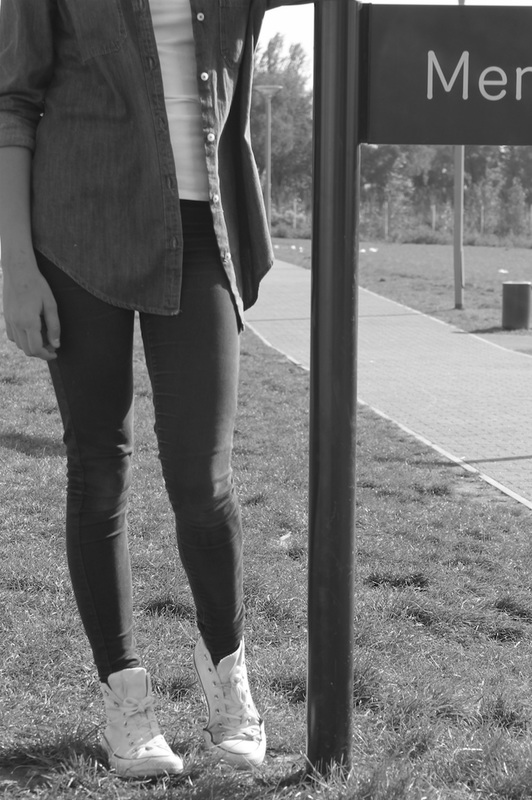
Response #2
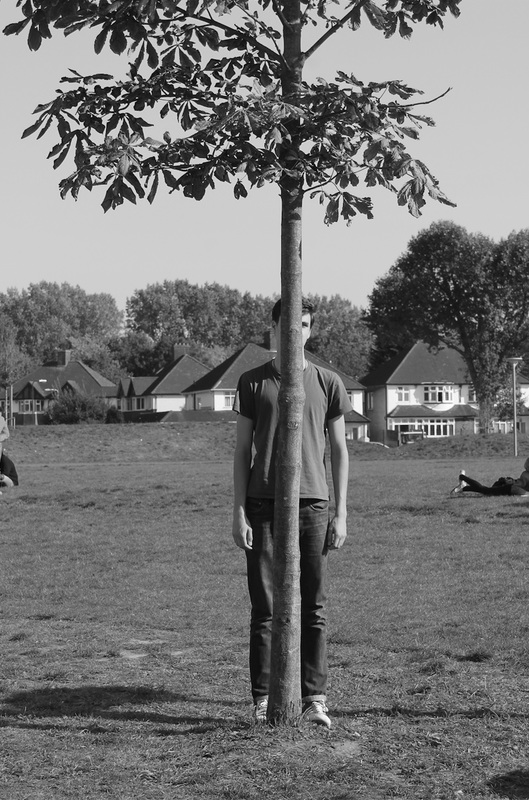
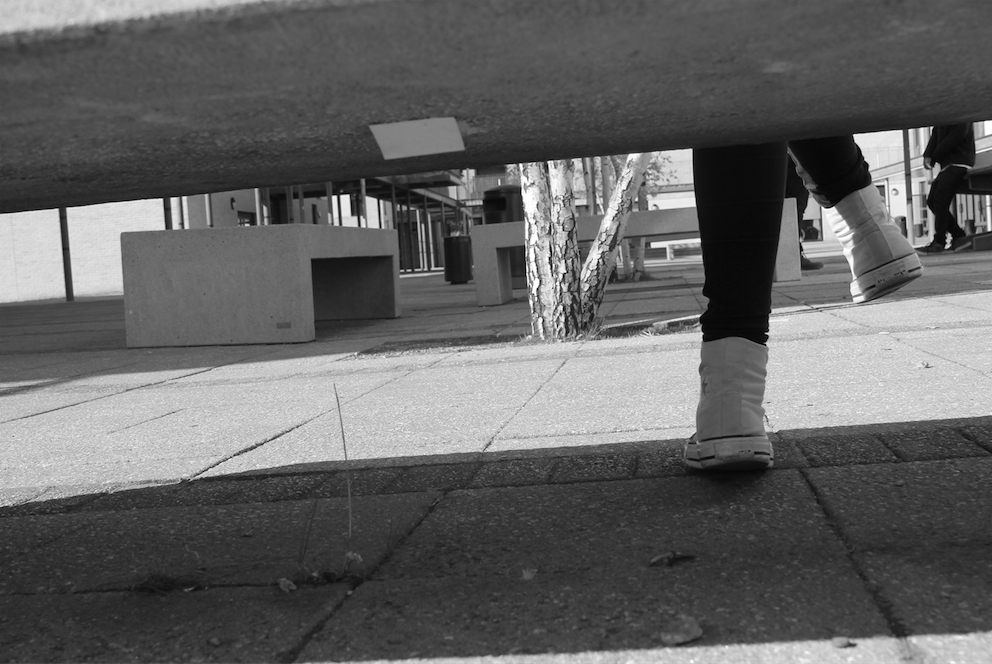
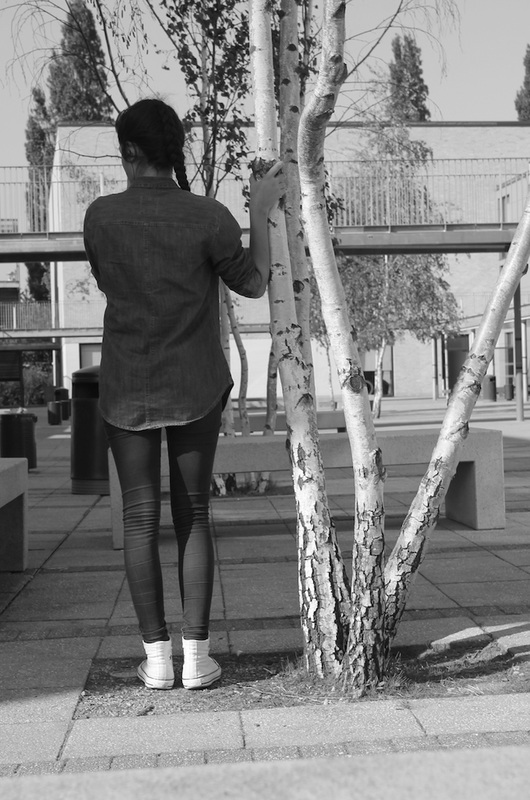
For today's lesson we was put into pairs and was set a task of going out and taking pictures that were linked to Francesca Woodman. At first we didn't really know what type of pictures to take this is because it had to be taken in school. So there isn't really that much things to take pictures of that will link to our artist but then by doing some deep research on her work we was able to take some successful images by using different crops and natural forms. What has went well with these set of images is that towards the end we was able to take images that had linked to Woodman's work and they all turned out nothing how I expected them to, which was where my friend was standing behind a tree it looks totally different when your looking at it than from the picture. What I could do to improve my images are by taking another set but changing the location of the setting this is because we could find better things to takes and things I could improve by adding a person to the image. Even by taking more images from different angles and with different lens, you would see the difference.
|
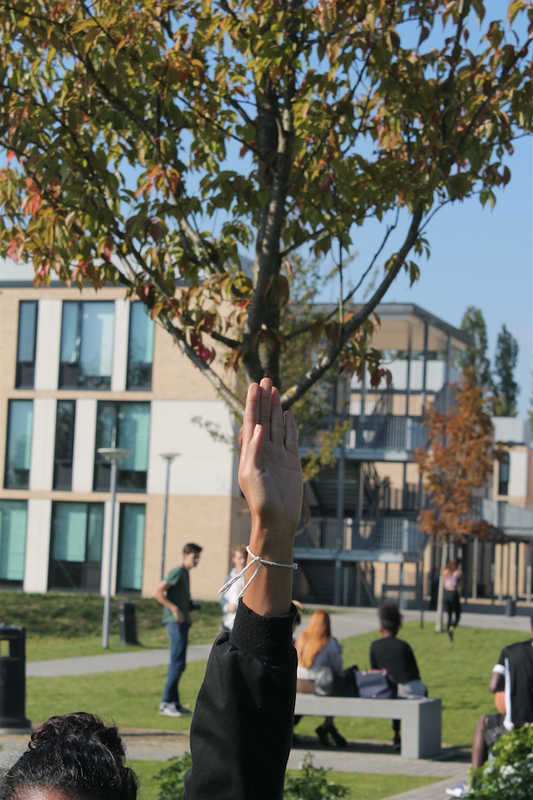
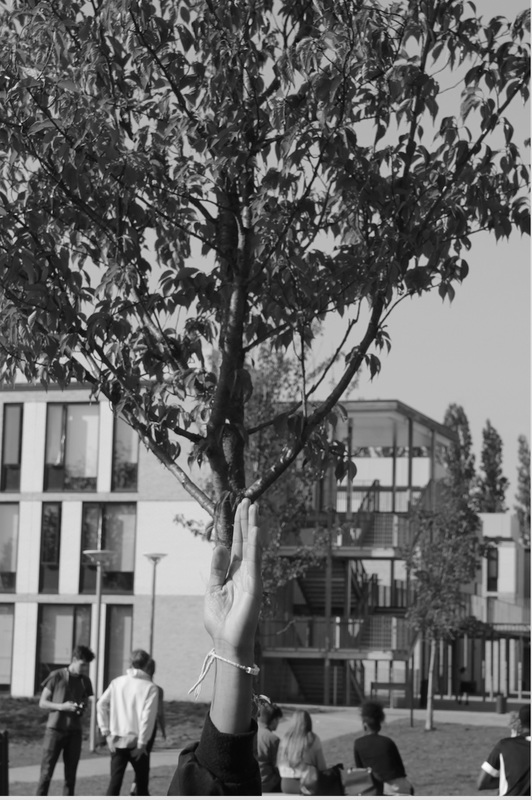
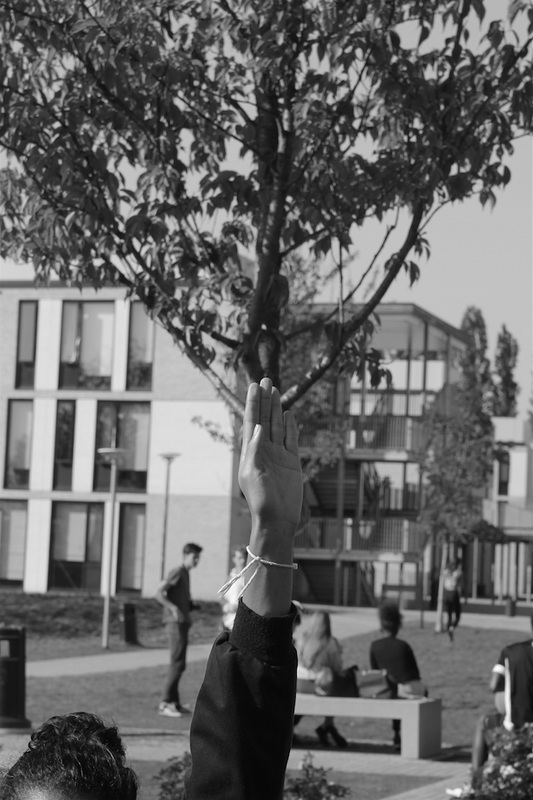
Within this image I see an arm that has connected or linked or even blended in with the tree behind her, and what I have tried to achieve in this image is that I just wanted to take a picture of someones arm positions in the angle of a tree but not just the tree I wanted it to be the main stem of the tree and as you can see in the image I have done what I wanted. But the other thing I also love about this image is that I didn't really focus on taking the image, I just focused on angling the hand with the tree but the thing I love is that, after the point of her fingers, the stems start to come out from that point onwards. If I was to describe this image to someone I would say 'the image is a naturalistic image which has a human feature trying to represent a tree with their arm. Within the background you can see the side of the school building including the grass and students relaxing on the benches. The things that seem really new to me after realizing and looking at the image in great detail, is that when I took picture I didn't really focus on nothing expect on the arm and the tree but nothing behind the image and also the persons head. Also the angle of the image isn't right, I could of took the image with a clear background but using the same technique. Even with the spacing of the image there is a lot of negative space, there is too many things going on n the background which makes the main object less noticeable.
|
|
The reason why I have converted my pictures into black and white is because I wanted them to link to my photographer as so she took images in black and white, she could of done this for many reasons, for example it could be because of the mood or thats the way she wanted it to look. The main reason why I have changed my images, is because by converting it into black and white, you'll have more things to concentrate on, if it was in colour then you would only have the main object to took at because as soon as you look at the image, your eye will look at that straight away but with the black and white images you have to think about which one is the main object and whats going on in the images.


|
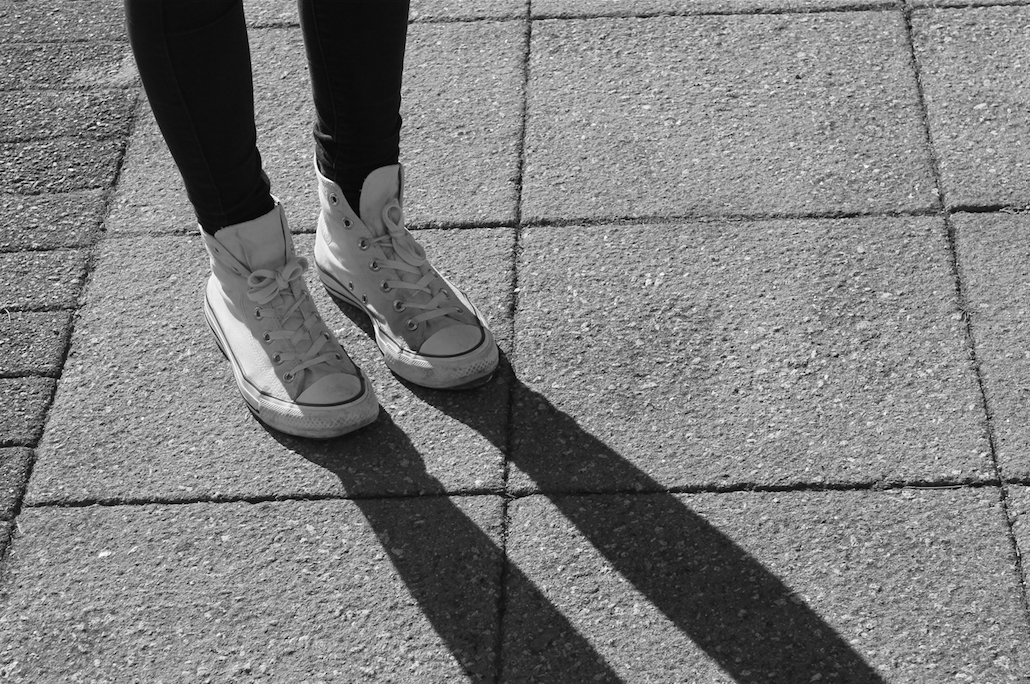
The reason why I have chosen these two images are because I personally think that they were the most successful and I also think this because both of the images are linked to Woodman's work and that's because the way that the arm is just angled with the tree that was 5 feet away from us. It was so precise that when I saw the position I told my friend to keep her arm just the way it was a few seconds ago. When I was taking the image I realised that I didn't really concentrate on the other things that was going on in the background and they were either people standing and there was other unnecessary things within the image. What I could do if I was to go out and take another similar image I would go to a park that has really interesting
|
|

trees and when I mean interesting I mean by trees that are different and are in different length's and sizes, and then I would make sure the background is clear enough so no people animals whats so ever so that the image will look similar to Woodman's work. Also when I'm taking the picture I would focus on the angles of the camera and also the angle of the arm, this is because you have to be precise when your taking the image so that the arm and the tree are right in position and also it would look like that the arm is combining with the tree. Also while I'm taking the image I would look at the four corners of the camera this is also really important because you have to concentrate at what you are taking and if the objects in the image is necessary to the picture. Now moving on to the other image I also think this was a really successful image and I think this because even with my friend standing there in the image behind a tree he has blended in slightly. But if I was also to go out and retake this image I would make my friend stand behind the same tree again but stand sidewards so that he would blend in a bit more and we wouldn't see his arms and etc that much. Also when you look at the image you can see people in the background which doesn't make the image look that bad but I personally think that next time while taking the image I would focus more on what is in the image instead of just focusing on the tree and my friend.
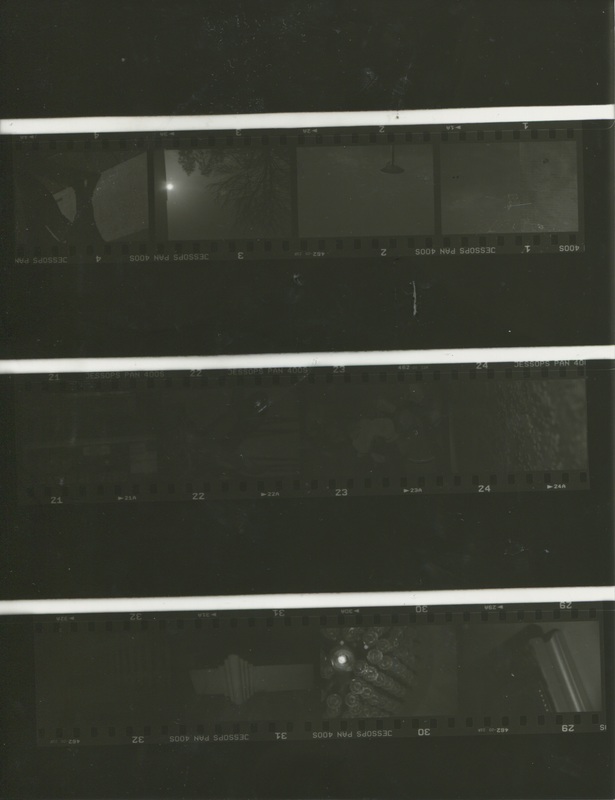
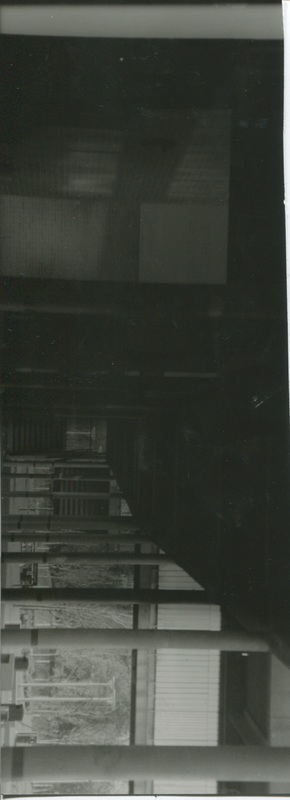
Film Negatives
At first I had taken a set of images with the film that I had bought from Boots, which the film was an Ilford HP5 plus 120 mm 400 and I have used a canon camera. I had taken the amount of images that the film allowed us which was around 30 pictures. So with the help of my parent Chantay I had taken some at home and some at school, I didn't want all of my images to be just of the school and the building I wanted something different.
|

|